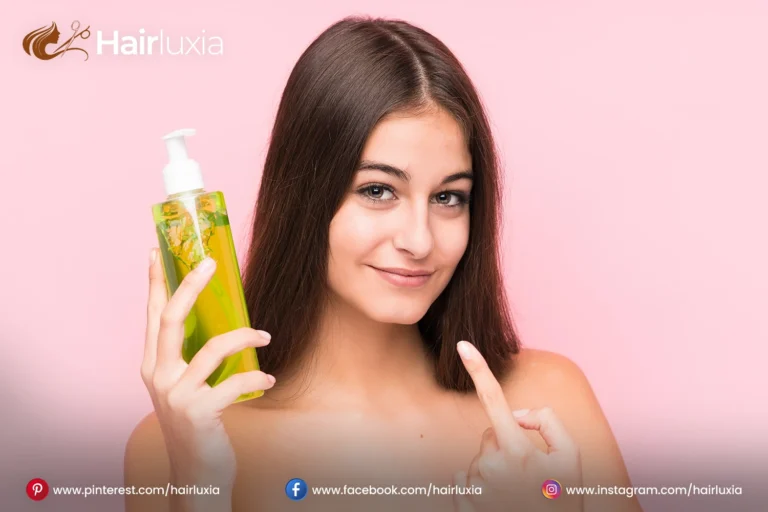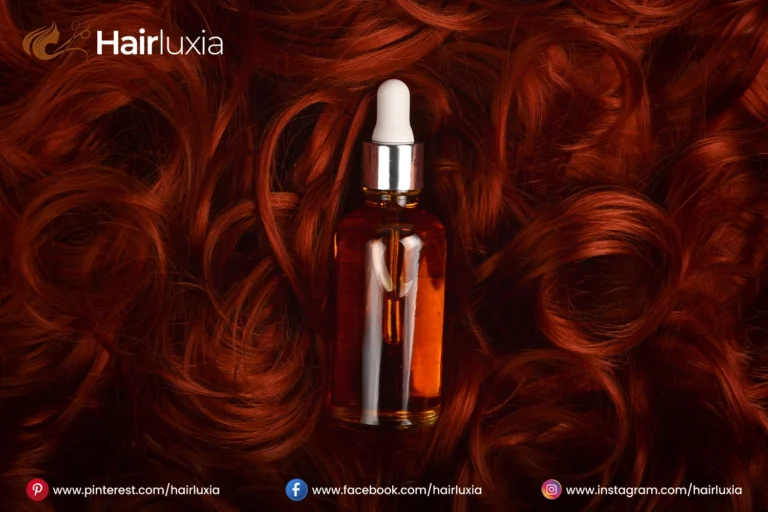
CER- 100 hair mask how to use
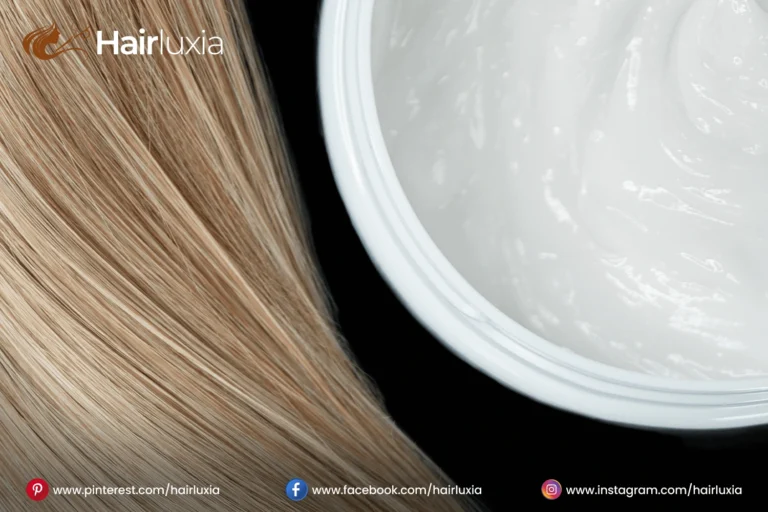
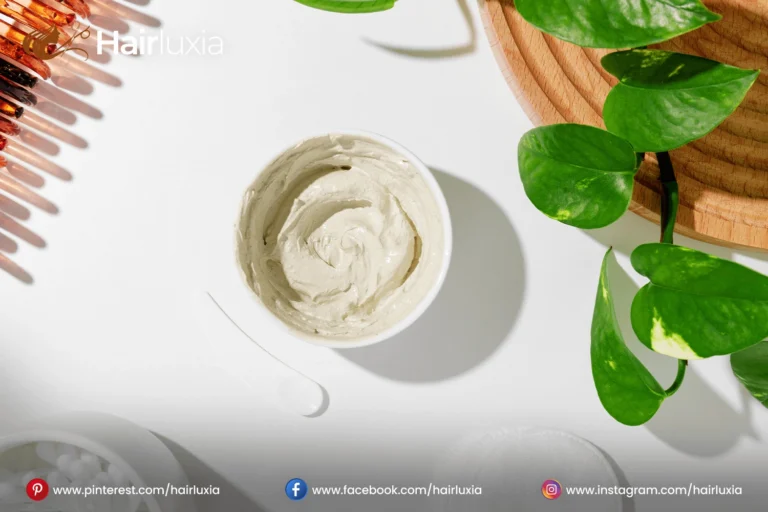
CER- 100 Hair Mask is an advanced hair treatment product designed to revitalize and nourish damaged hair. Invested with hydrolyzed collagen and a mix of rich moisturizing ingredients, this mask aims to restore the hair’s strength, flexibility, and shine.
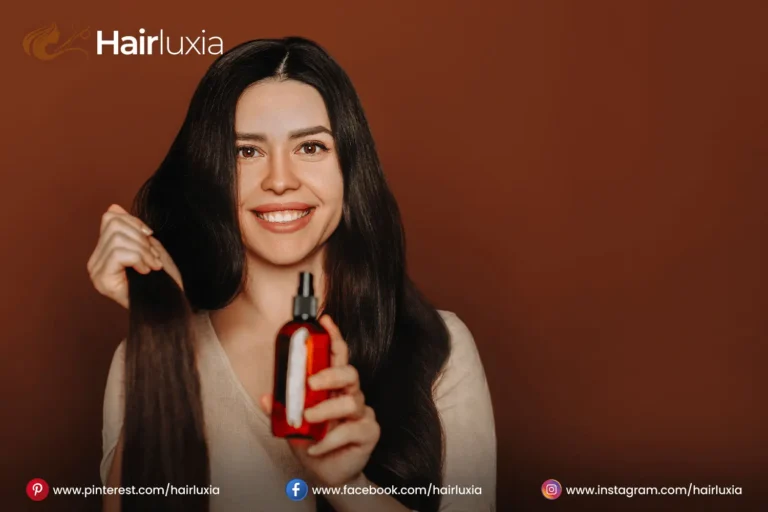
Ideal for those with color- treated, heat- damaged, or dry hair, the CER- 100 Hair Mask works by deeply piercing the hair shaft to repair and cover against unborn damage. With regular use, it can transfigure dull and brittle hair into smooth, manageable beaches, making it a go- to result for anyone seeking healthier hair.

Who should use CER- 100 hair mask
This CER- 100 hair mask is suitable for a wide range of individualities seeking to ameliorate the health and appearance of their hair.
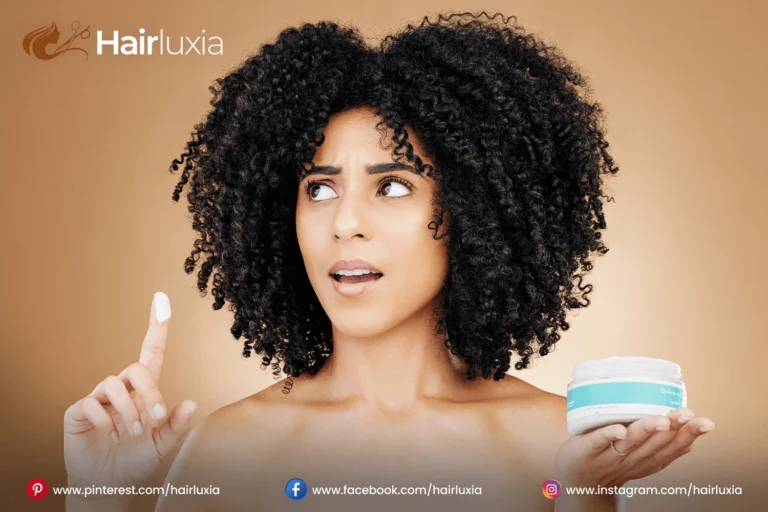
It’s particularly best for those with damaged or brittle hair, including those who have experienced chemical treatments, similar as coloring or perming, and those who constantly use heat styling tools like blow dryers and straighteners. Individualities with dry or ringlet-prone hair will find this mask helpful.
It also provides deep hydration and humidity retention, helping to smooth the hair cuticle and reduce ringlet.
For those peoples who are looking to enhance shine, enhance overall texture, and restore flexibility in their hair will also profit from incorporating the CER- 100 Hair Mask into their hair care routine.
Ingredients for CER- 100 hair mask
Water, cetearyl alcohol, behentrimonium chloride, glycerin, amodimethicone, cyclopentasiloxane, citric acid, isopropyl alcohol, cetrimonium chloride, sodium benzoate, dimethicone, trideceth- 12, panthenol, scent, tocopheryl acetate, caramel, butylene glycol, cornus officinalis fruit excerpt, rehmannia glutinosa root excerpt, dioscorea japonica root excerpt, alisma orientale tuber excerpt, paeonia suffruticosa root excerpt, poria cocos sclerotium excerpt, ceramide np( ceramide 3)( 10 mg), alcohol, hydrolyzed silk, hydrolyzed collagen( 100 ppm), gelatin, hydrolyzed keratin, avena sativa( oat) kernel excerpt, 1,2- hexanediol, hydrolyzed wheat protein( 10 ppm), hydrolyzed sludge protein( 10 ppm), hydrolyzed soy protein( 10 ppm), phenoxyethanol, daucus carota sativa( carrot) root excerpt, brassica oleracea italica( broccoli) excerpt, apium graveolens( celery) excerpt, brassica oleracea capitata( cabbage) splint excerpt, oryza sativa( rice) partner tract, brassica rapa( turnip) splint excerpt, ethylhexyl glycerin, solanum lycopersicum( tomato) fruit/ splint/ stem excerpt
Prepare Hair to Apply CER-100 Hair Mask
To apply CER- 100 hair mask you should follow these way to get excellent result from this.
Wash your hair
First of all you have wash and clean your hair with any suitable shampoo before applying the mask in your hair. Shampoo should be sulphate free and avoid using heavy conditioner as the mask itself will deeply moisturize your hair.
Towel dry or slightly damp
You should dry your hair with a microfiber towel or a soft cotton t- shirt. The CER- 100 or any kind of hair mask works best on damp hair as it absorbs the nutrients more effectively.

Follow these way to dry
- Wrap your hair in the towel, but don’t rub it.
- Gently wrap the towel around your hair to let it absorb the water.
- To remove redundant water, smoothly press the towel, but don’t apply any force.
Section your hair
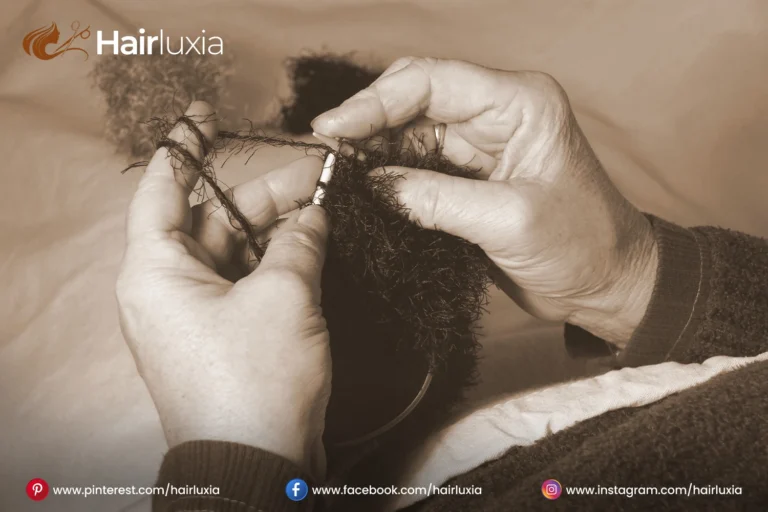
Divide your hair into 4 to 6 sections grounded on its consistence and length. With this mask will be fluently and unevenly distributed throughout your hair. This ensures indeed application and allows each strand to admit the benefits of the treatment.
How to apply CER- 100 hair mask
To get the stylish out of the CER- 100 Hair Mask, apply it unevenly to nourish, strengthen, and repair your hair, fastening on dry, damaged areas and split ends. This will help your hair absorb the nutrients, leaving it soft, candescent, and revitalized. Follow these way for stylish results.
Apply the hair mask on your hair
Apply a generous quantity of the hair mask to your hair, working it through section by section. Focus especially on lengths and ends, as these areas tend to be the most damaged or dry.
When it comes to the crown:
Use a lower quantum if necessary to help greasiness. Be aware not to over-apply the product near the roots to maintain a balanced and featherlight sense.
Leave the mask generally, leave the mask in your hair for about 5 twinkles before irrigating it out. However, you can extend the duration, if your hair is extremely damaged or dehydrated. In that case, leave it on for 15 to 20 twinkles for better results.
For deeper exertion you can wear a shower cap and apply heat using a bonnet teetotaler or a warm towel to help the mask access more effectively.
Rising completely
Rinse the CER- 100 hair mask completely with lukewarm water, icing there’s no residue left before. Take your time to wash it out fully for smooth, manageable hair. However, follow up with a featherlight conditioner to add redundant humidity and wimpiness. If your hair feels particularly dry after irrigating.
Style your hair
After rising the hair mask, you can choose to either air sot or use a diffuser or bonnet teetotaler, depending on your preference, to style your hair as usual.
This routine will help you maximize the benefits of the CER- 100 hair mask, leaving your hair feeling soft, candescent, and nourished. Embrace the process, and enjoy the transformation of your hair as it absorbs the mask’s enriching ingredients.
Post care treatment after CER- 100 hair mask
To dry your hair post-treatment, gently spot it with a microfiber towel to absorb redundant humidity without causing disunion, minimizing damage and maintaining its natural texture. Avoid rough kerchief- drying, which can lead to ringlet and breakage.
When drying: Always use heat protectants before applying heat to save the mask’s nutritional goods. For a more natural look, consider air- drying your hair, which helps retain humidity and enhances natural swells or curls.
However, use a diffuser to distribute heat unevenly and reduce ringlet, if you prefer defined styles. Be gentle when handling your hair, using wide- tooth combs or your fritters to detangle from the ends overhead.
Limit heavy styling products to keep your hair light and vibrant. These way will help insure your hair remains healthy and beautifully nominated after treatment. Then are some helpful tips for using the CER- 100 Hair Mask effectively.
Tips for Using CER- 100 Hair Mask
Pre-Wash Preparation
For stylish results, start with clean hair. Use a gentle shampoo to remove buildup and prepare your hair for the mask.
Towel Dry Your Hair
Gently towel-dry your hair after washing to remove redundant water. This helps the mask to cleave better and access more deeply.
Section Your Hair
Divide your hair into 4 to 6 sections grounded on consistence and length. This ensures indeed operation and helps the mask reach all areas of your hair.
-
Use a Generous quantum
Apply a sufficient quantum of the mask to each section, fastening on themid-lengths and ends, which frequently need further aliment.
-
Gently Massage
Gently blarney the mask into your hair and crown. This not only distributes the product unevenly but also stimulates rotation.

-
Use Heat for Deeper exertion
For enhanced effectiveness, you can use a shower cap and apply gentle heat with a bonnet teetotaler. This helps the mask access better.
Follow Recommended
Timing generally, leave the mask on for about 5 twinkles. For oppressively damaged hair, extend the time to 15- 20 twinkles for deeper exertion.
Wash Completely
Wash out the mask with lukewarm water to insure all product is removed. Avoid using hot water, as it can strip humidity.
Follow Up with a Lightweight Conditioner
Still, follow up with a light conditioner to seal in humidity without importing your hair down, if necessary.
Use regularly
For stylish results, incorporate the CER- 100 mask into your hair care routine once a week or as demanded, depending on your hair’s condition. By following these tips, you can maximize the benefits of the CER- 100 Hair Mask, leaving your hair healthy, candescent, and revitalized.
Conclusion
In conclusion, the CER- 100 Hair Mask is an important result for those seeking to restore health, strength, and shine to their hair. Invested with nutritional constituents like hydrolyzed collagen, this mask effectively addresses issues related to damage, blankness, and ringlet.
By following the proper operation way and incorporating the mask into your daily hair care routine, you can achieve visibly smoother, more manageable hair.
Flash back to treat your hair gently during the drying and styling process, and consider using heat protectants to maintain the benefits of the mask. With harmonious use, the CER- 100 Hair Mask can transfigure your hair, making it look revitalized and beautifully vibrant.
Embrace this treatment as part of your hair care authority, and enjoy the enhanced texture and shine that comes with healthier hair.